

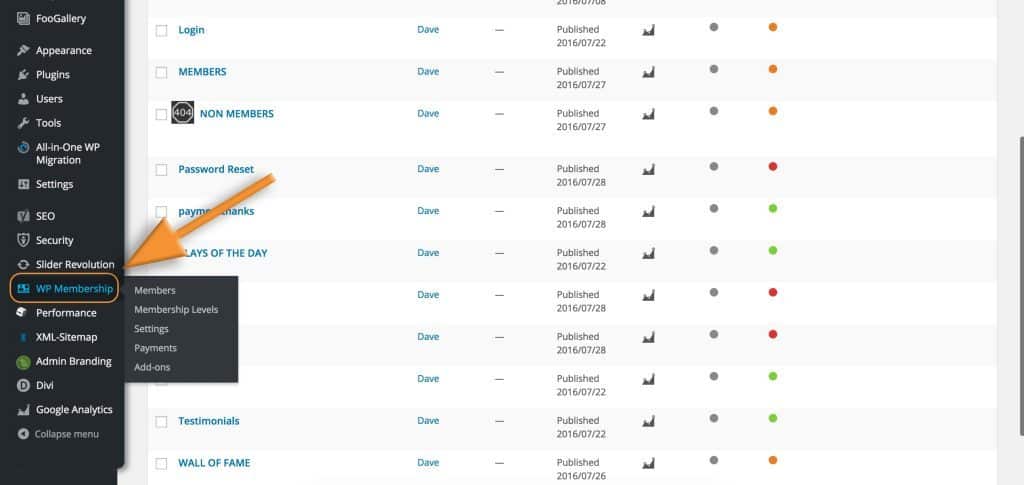
This section only applies if your website has a members-only area on it.To access the Membership plugin, simply log in and then on the left-hand menu you will see the ‘WP Membership’ section. Hover over this to see all the options or click on it to go into the main settings area. From within here you can add new members, change membership levels and much more. Before changing things in here we’d recommend having a look through the documentation for this plugin for the section which relates to what you are trying to achieve. Full documentation can be found here.
While this looks like a very in-depth document (and it is), you only need to read the sections which apply to what you want to be able to do. Which is probably only adding new members and changing membership levels.
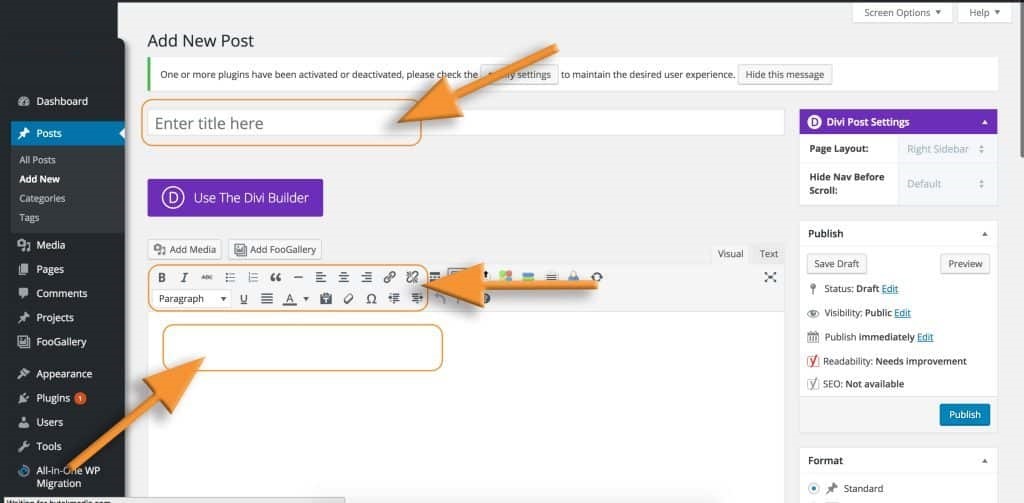
Enter a title for your blog post (this is what will show up as the actual blog title on your website) and then you can use the box underneath to type out your blog content and format it accordingly – the same way you do when editing a text box on a web page (see the other help file if you haven’t already done this – ‘Editing an Existing Page’.
Finally, you can add your blog post to a category. If you have any setup, you can add a featured image to it. The featured image is what will show on Facebook, for example, when you link to your blog post. You will upload an image here, in the same way as you did in the section, ‘Adding an Image’.
